

How To Keep Curb Ramps From Moving: Simple Ways To Secure Curb Ramps
It is frustrating when a curb ramp slides around instead of staying put. A ramp that shifts around can create another bump to cross instead of making the entrance to your driveway even worse. Plus, no one wants to hop out of their vehicle every time to readjust a ramp.
You may get desperate and want to bolt your curb ramp into the concrete curb, but that’s a bad idea – and it can cause permanent damage. Fortunately, there are easier, more effective ways to make sure your curb ramps stay in place.
1. Clean Under Your Ramps Every Few Months
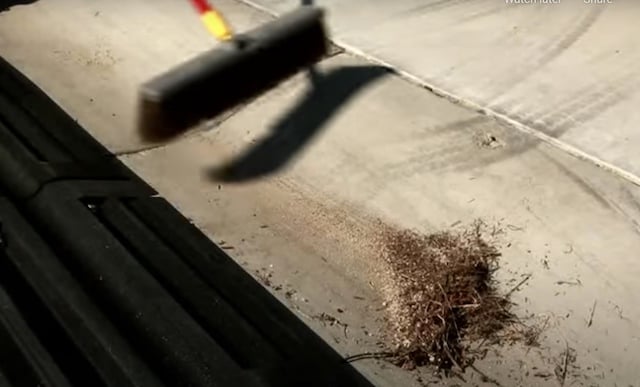
You may not be aware, but dirt and debris can cause curb ramps to move. Over time, sand, gravel, and other materials collect underneath, reducing traction between the ramp and the curb. Here’s why that matters:
- When combined with water, dirt and debris can form a slippery sludge, making shifting even easier.
- Sand or gravel can act like ball bearings, helping ramps slide instead of stay put.
To prevent this, strive for a clean base. A clean ramp base will provide better traction and less movement.
- Clean under your ramps every few months – quick rinse with a hose usually does the trick.
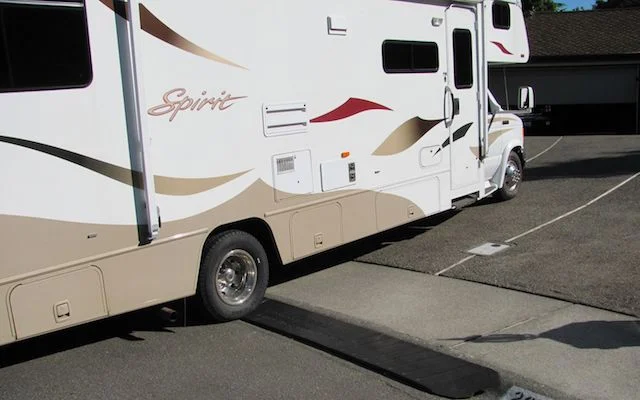
- BRIDJIT curb ramps are made of recycled rubber that’s easy to clean and compresses imperceptibly, ensuring a snug fit over your rolled curb.
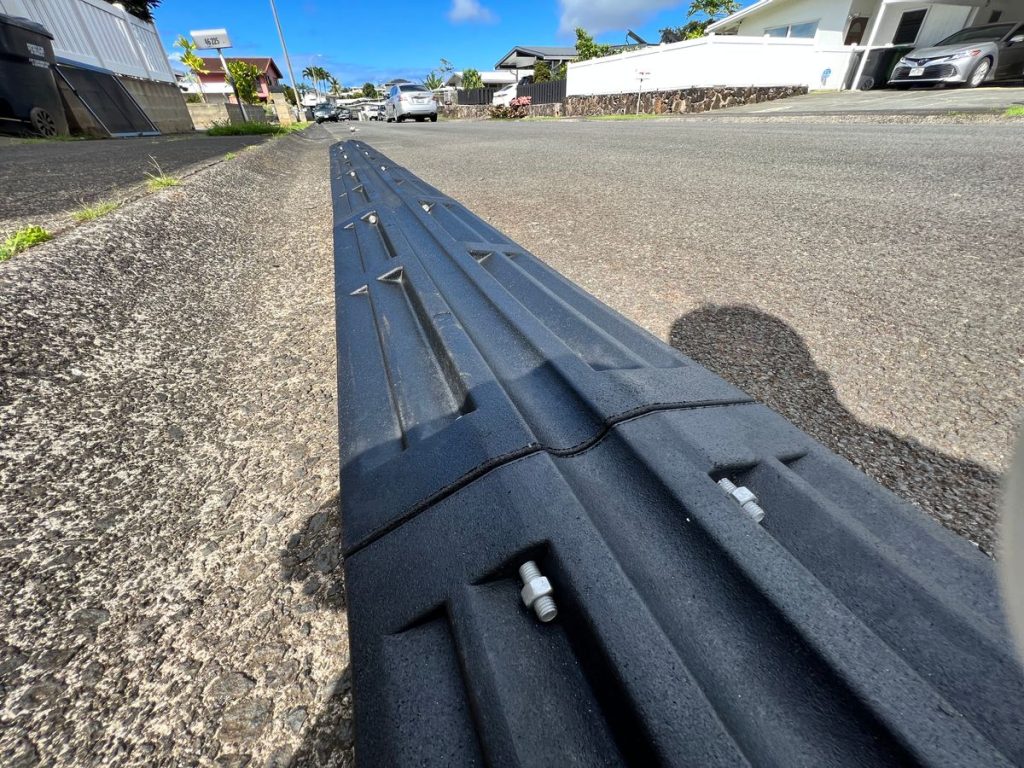
2. Bolt Your Curb Ramps Together
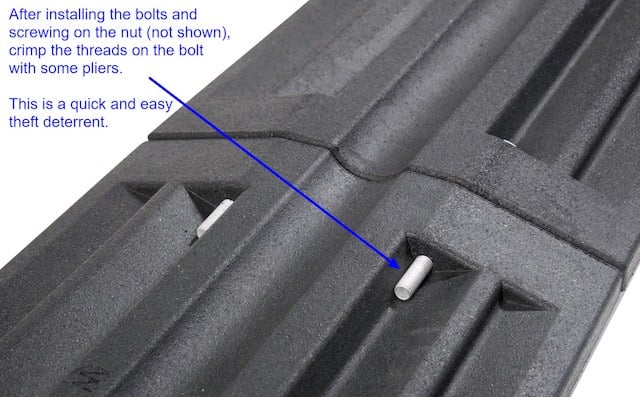
Weight matters! The heavier your ramp setup, the less likely it is to shift. How to secure your ramps:
- Use the included metal nuts and bolts to connect ramp sections together.
- The added weight keeps them stable – a bolted 3-piece set of BRIDJIT ramps weighs at least 150 pounds.
- Every BRIDJIT curb ramp set includes ½” x 7.5” galvanized bolts to prevent corrosion plus easy-to-follow assembly instructions.
This design makes the ramps difficult to move, and difficult to steal, since each section is heavy and connected. Yet, if you need to move them – for example, for cleaning – it’s possible, though it’s a two-person job.
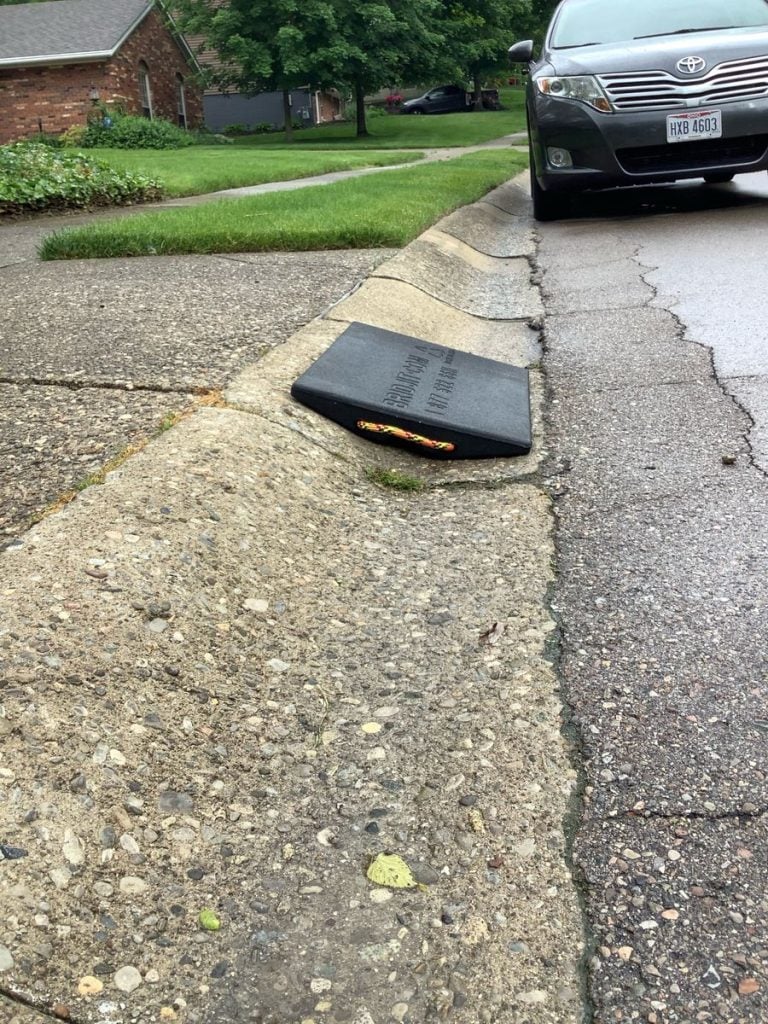
3. Pull In And Out The Same Way Every Time
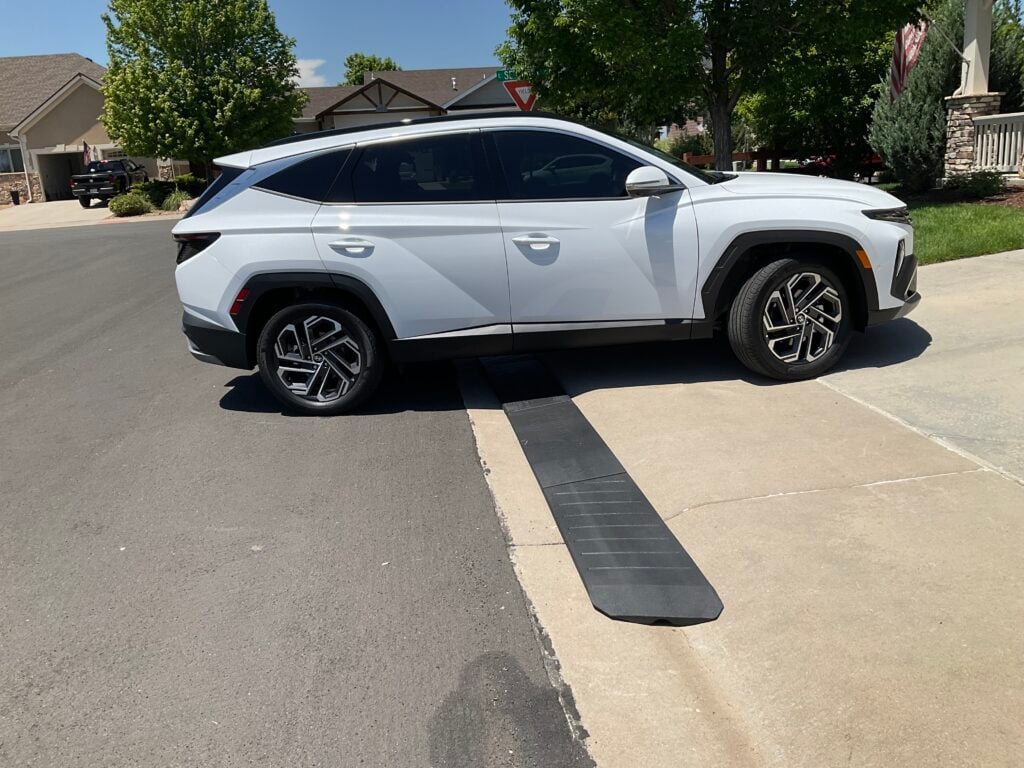

A simple driving habit can make a big difference. Consistency is key, and if you approach straight, your ramps are more likely to stay straight. Try this:
- Avoid entering your driveway at an angle.
- Instead, line up so both front tires hit the ramp at the same time.
- If you have enough room on your street, swing out slightly before entering straight on.
This method reduces the sideways force that can shift the ramps – helping your BRIDJIT curb ramps stay right where they belong.
4. Create An Anchor
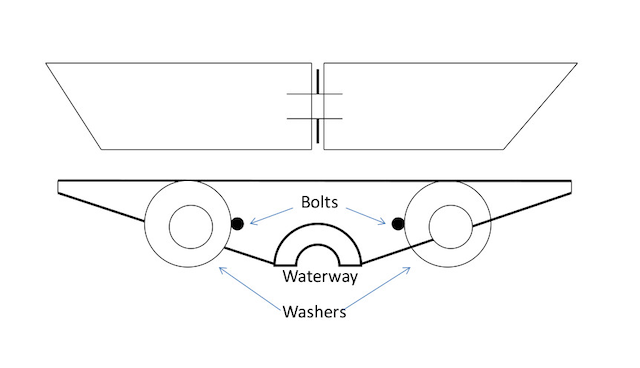
While BRIDJIT curb ramps tend to stay put better than other brands, some BRIDJIT curb ramp owners have had success with a more permanent solution. They have created an anchor of sorts. If you are fortunate to have a control joint in the right place in your curb, you may want to try this method:
- After completing your BRIDJIT curb ramp setup, match the position of the ramp’s bolted connections to the joint.
- Measure to be sure you are placing it slightly above where the top connection bolt will rest, then insert a 3 ½ in outside-diameter galvanized washer* down through the rubber joint and into the concrete joint. Pound the washer into the joint until it is flush with the rubber seam.
- Make sure you are placing the second washer slightly below where the ramp’s bottom connection bolt will rest, then insert the second 3 ½ in outside-diameter washer down through the rubber joint and into the concrete joint. Pound the washer into the joint until it is flush with the rubber seam.
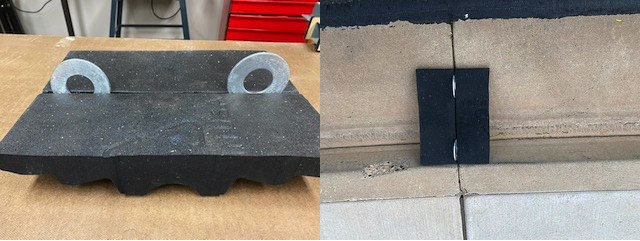
This creates a shear point that keeps the entire ramp in place and still allows you to pull the top of the ramp out into the street for cleaning. Remember, this setup only works if you have a control joint in the right place with enough opening in the joint for the washer to be inserted, but it is amazing how many times this actually works.
*This 3 ½-inch size washer cannot be purchased at the go-to hardware stores. You will need to Google “fasteners” to find them here. If you have all the right components, this method will help keep your ramps from moving.
5. Add An Extra Section

If you have a wider driveway or need additional coverage for multiple vehicles, consider adding more curb ramp sections. More connected sections mean extra weight, even better stability, and less movement overall. Plus, they make a great fit for large rolled curbs or wide driveways.
You can find compatible center sections for expansion here, and we offer a starter set that comes with an extra section here.
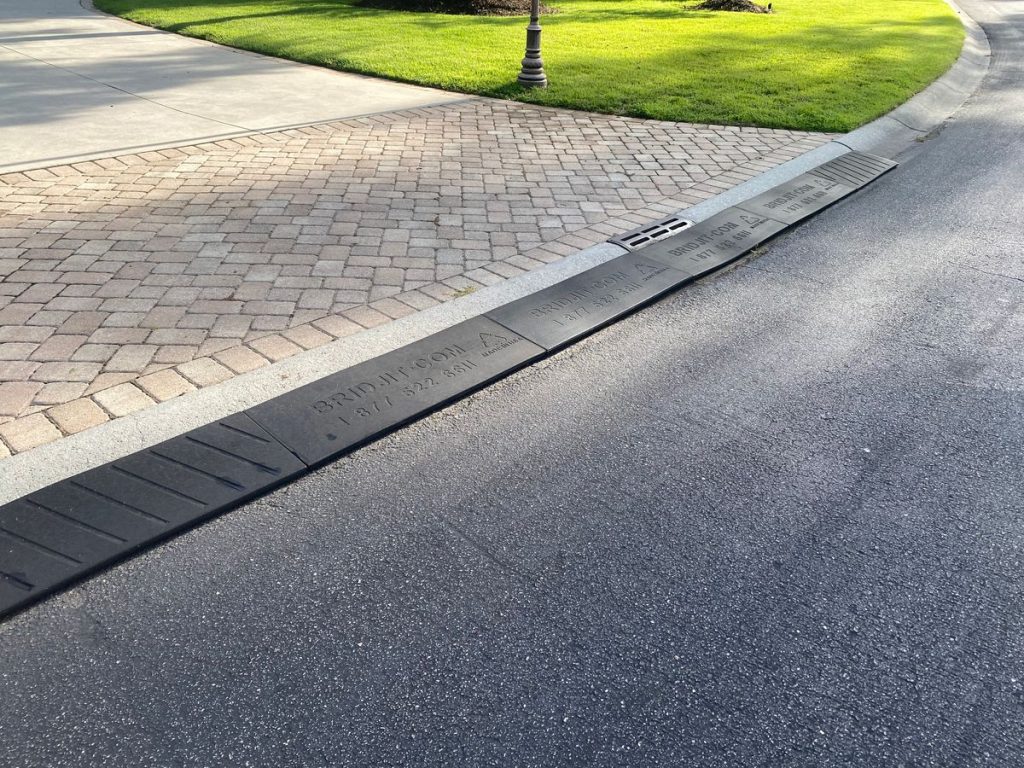
BRIDJIT Has The Best Solution For Rolled Curbs
Whether you’re protecting your car’s suspension or just making daily parking smoother, BRIDJIT curb ramps are designed for convenience, durability, and long-term performance. They’re:
- Made From Recycled Rubber To Be Strong, Reliable, And Long-Lasting
- Designed For Easy Water Flow And City Compliance
- Heavy Enough To Stay Put, Yet Removable When Necessary
- No Jolt – Smooth Entry And Exit Over Rolled Curbs
- Use In Any Weather – Built-In Water Channel Allows Drainage
- Made In The USA
Follow the links below to shop our curb ramp offerings, and check out the other articles on our blog to learn more about how our ramps are the perfect solution for your low-clearance ride, RV, motorcycle, trailer, golf cart, or mobility needs.
- BRIDJIT 3-Piece – Expandable Curb Ramp Set
- BRIDJIT Curb Ramp Set – With Extra Center Section (4 pieces)
- BRIDJIT Curb Ramp Set – 47″ Extra Center Section
- BRIDJIT – Portable Travel-Sized Curb Ramps (2 pieces)
For detailed installation guides, visit our BRIDJIT installation page, and order your BRIDJIT curb ramp today to get a solid, and durable solution to your rolled curb issues.
