
QuantiQualification Explains Why BRIDJIT Ramps Beat The Competition
No one wants to hear that cringe-causing noise of your front bumper dragging across the concrete. YouTuber QuantiQualification has (like many homeowners) been dealing with this for ages. It’s absolutely terrible – especially on his Mini Cooper – leaving it with something worse than cosmetic scratches underneath; it’s actually pulling the bumper out, causing visible damage.
But it’s not just the low-clearance cars. QuantiQualification’s standard 2011 Honda Odyssey minivan scrapes just as bad. Being an engineer, he knows it’s not just about bumpers – it’s about your suspension, too. Even if you have a lifted vehicle, rolled curbs are a problem. His lifted FJ Cruiser, even though it doesn’t scrape, feels the stress the rolled curb puts on the suspension. You are pushing that suspension to its limits every single time you pull in or out.


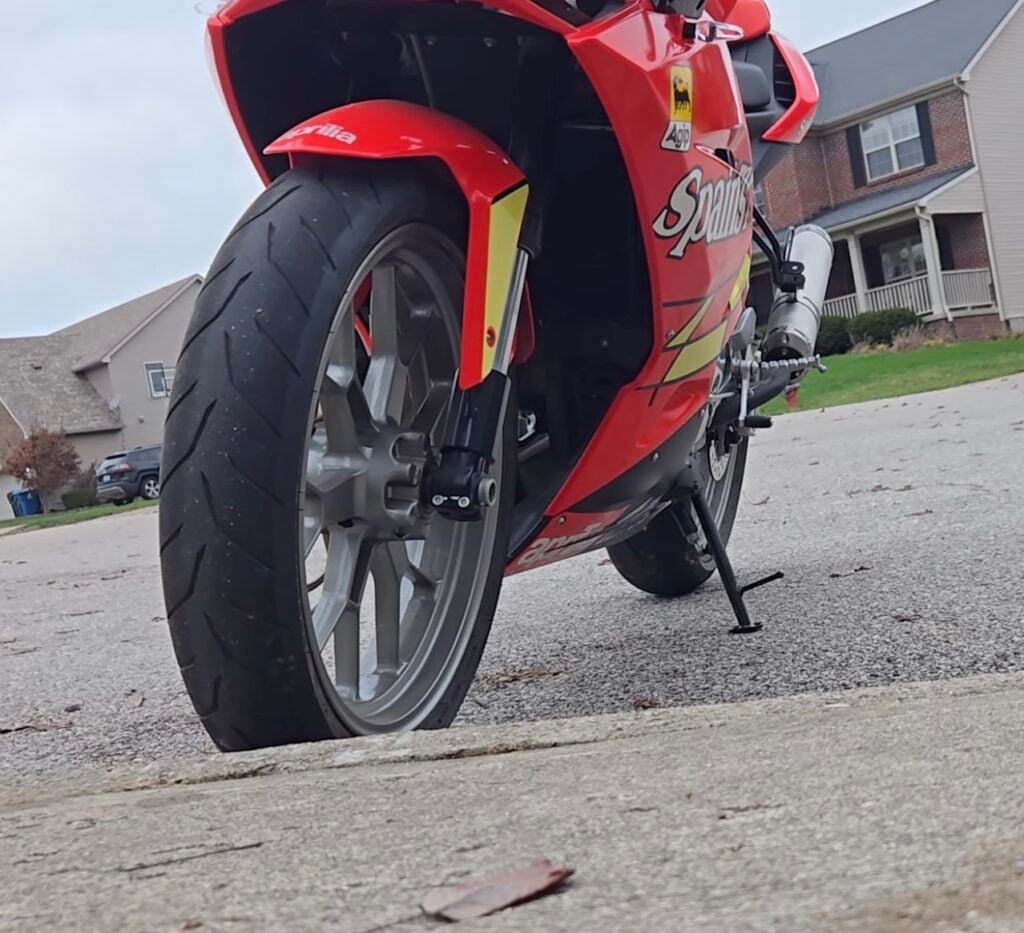

And for his fellow motorcycle riders? These rolled curbs are genuinely dangerous. QuantiQualification has a racing bike, and the curb impacts the tire so hard he’s worried about blowing out a fork seal. Plus, trying to back a bike out requires rocking it back and forth, which is just sketchy.
Why DIY Curb Ramps Fail


Before QuantiQualification settled on a solution, he took a walk around the neighborhood to see what other people were doing. Spoiler alert: Most of it looked awful.
- Asphalt Ramps: Some neighbors decided to form asphalt into a ramp. It peels right off the concrete and looks like a mess.
- Concrete Ramps: These don’t stick to the existing curb either. They break apart, crack, and generally look bad.
- Bolted Plastic Ramps: He observed several plastic ramps that required bolting into the curb. Not only does this damage your concrete, but the plastic often breaks right through the studs, leaving the ramp loose anyway.
- Loose Sections: If you don’t bolt them, ramps made of individual small pieces start sliding around and getting out of alignment.
The Solution: The BRIDJIT Curb Ramp
While walking the neighborhood, QuantiQualification stumbled on one solution that actually looked professional. Everything was perfectly aligned, clean, and sharp. It was a BRIDJIT Curb Ramp.
As he looked he noticed more and more of them on his street, and they all looked great. So, he gave us a call and grabbed a 4-section kit (since he has a wider driveway) to test it out. Here is how the installation went and why he’s a convert.
Installation Tips For The DIYer


The installation is straightforward, but because these things are 50 lbs each, it’s definitely a two-person job once you start moving the connected assembly.
1. The Setup: The ramps come in center sections and tapered end sections. You want the narrow edge facing the street and the wider edge facing your driveway. Get all the sections laid out just as they’re going to be when it’s all said and done.
2. The Assembly: Now you actually flip the ramps upside down into the street to bolt them together from the bottom. Ensure that they are perfectly aligned and get to work.
3. The ‘Two Penny’ Rule (Crucial Step!) The kit comes with bolts and nuts. You hammer the bolts through, but – and this is important – do not hammer them all the way flush. You need to leave about 1/8th of an inch of clearance between the bolt head and the rubber. Pro Tip: An 1/8th of an inch is about the width of two pennies. This allows the ramps to flex when a car drives over them without ripping the rubber.
4. Tightening: Using a flat-blade screwdriver for leverage to keep the bolt from spinning, tighten the nut by hand until about 1/4 inch of the bolt is showing. Do not over-tighten these! If you do, the rubber can’t flex, and you’ll degrade the ramps.
5. The Flip Once it’s bolted, you flip the whole heavy assembly back over (get a buddy to help!) and push it into the curb to match the curve.
BRIDJIT Curb Ramps For The Win


The verdict? The difference is night and day.
QuantiQualification drove the minivan over it: No ground contact whatsoever. He then took the motorcycle over it: Piece of cake.
His car doesn’t ‘dance’ anymore when pulling in, and the suspension isn’t taking a beating. Plus, it looks super clean and professional compared to the crumbling concrete ramps down the street.
If you’re tired of the scrape, do yourself (and your car) a favor and check out BRIDJIT. Our curb ramps come in several varieties and are modular, so you can add as many additional sections as you need. Additional center sections are 47 inches long and can be ordered separately for those with long cul-de-sac driveway entries or the like. There are also portable ramps available for on-the-go convenience. These are our most popular curb ramps:
- BRIDJIT 3-Piece Expandable Curb Ramp Set
- BRIDJIT Curb Ramp Set with Extra Center Section (4 pieces)
- 47″ Extra Center Section For BRIDJIT Curb Ramp Set
You can also find detailed installation guides available online – just visit our BRIDJIT installation page.
Invest in a safe, quiet, and longer-lasting solution rolled curb solution – made from eco-friendly recycled materials that protect your car, bike, and your curb. Order yours today!
